Monday, January 27, 2020

Seat base retrimming

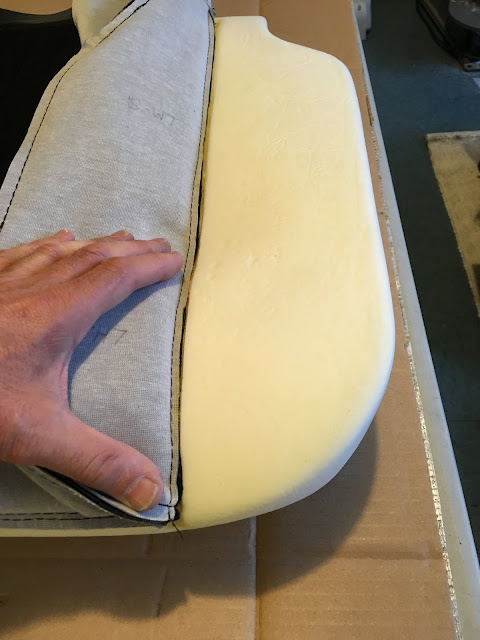
 Time to do the seat base now.

The foam needs a fabric covering underneath so that the webbing straps don't cut into it. Don't know what would have been original for 1972. I had this burlap on hand, so that's what I used. 


It's glued lightly to the cushion to keep it in place during assembly.


 Where the seat cover center panel will fit into the depressed area in the cushion, contact cement is applied to the corner edges of the foam, the lengthwise seams in the cover, and the center panel. It's important not to over-apply the glue. It mustn't soak deeply into the fabric or it could collapse the padded pleats. Just brush sparingly over the surface. 


When the contact cement has gone tacky, the inside-out seat cover is folded so that the center panel can be laid into the seat foam and aligned along the center edges on each side.


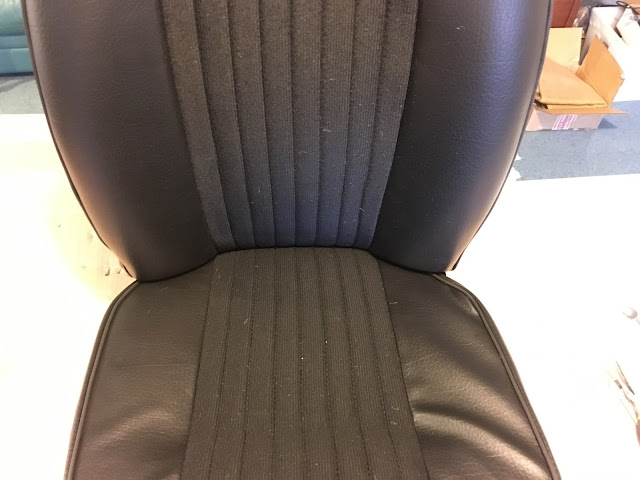
Before the cover and seat foam can be attached to the seat frame, the seat back should be temporarily assembled to the seat base frame so that the alignment of the bottom covering center panel can be aligned to match the center panel of the back covering. When the best position is found, then the bottom cover and frame are marked for reference.


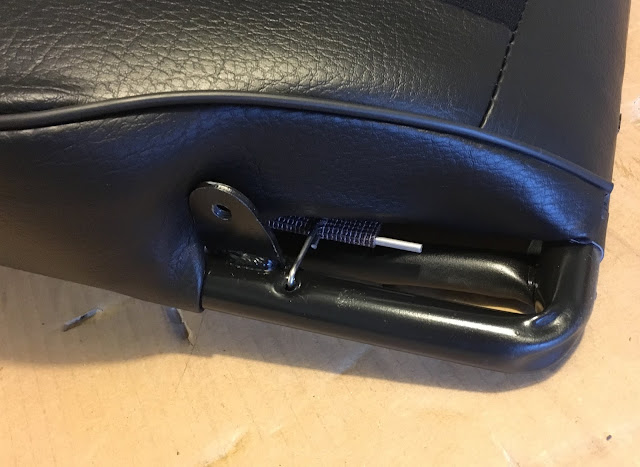
 The bottom cover needs to be cut in several locations for wrapping around the frame. Cuts are made where the covering can be folded under so that there's not a raw edge visible. 
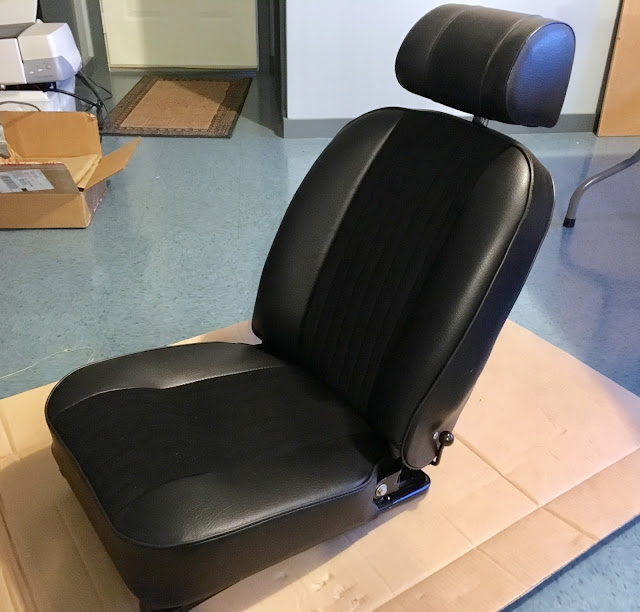


The folding and tucking of the rear corners may be a bit of a puzzle if you don't have a reference.


 Job complete! 


Thursday, January 23, 2020

Retrimming the seatback


 Now that I have a drivers side floor, I want to temporarily refit the driver's seat so that I can more easily move the car around under its own power. 

When I got it, the drivers seat bottom was totally collapsed, so it was like sitting on the floor. Besides, it was crusty and I didn't like sitting on it. So, this is the first seat to get re-upholstered. I got the seatback done today. 

 Don't forget to lube the seatback recliner mechanism. I use a sticky motorcycle chain lube for jobs like this. It sprays on thin to penetrate, then dries to a thicker film that stays put. 


New back stiffener card attached with tape and two screws.  


The new foam gets wrapped around over the back stiffener, and glued to it.
 

The new foams have a hard edge from the mold parting line. This would show through the upholstery as a sharp line. So I sanded the edges to a soft, rounded contour.


With the seat back cover installed, the contour flows nicely already, but it will smooth out even more after it settles with some time. Wrinkles are from the packaging of the seat cover during shipping. Hopefully that will smooth out on its own.
 
 The center of the seat cover fits deeply into the back, showing pronounced side bolsters. The center area is glued to the foam to achieve this. It is an important step that is skipped far too often. 

Keeping the original headrests for now.


Sunday, January 12, 2020

Seat frames

 Middle of January and it was 70 degrees and dry outside today. So I took advantage of the nice weather to paint the seat frames. These were first cleaned to bare metal of. Gray Rustoleum primer and Rustoleum satin black. Very little of this will show outside of the upholstery, but it provides rustproofing at least. Seats will be recovered in the original style vinyl with cloth center in black.